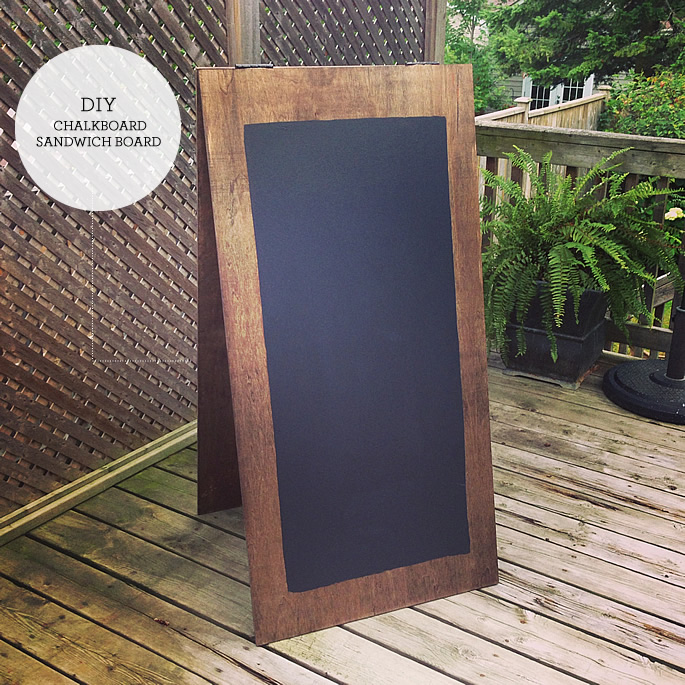
Get two boards from Home Depot. They were pre-cut to this size so no waiting in line at the cutting tool. Get a pack of hinges. Screw the two boards together. Aubrey used glue to reinforce the hinges as it was going to be transported to the resort. But you could skip this step.
Once screwed together I started to stain... I used Minwax stain in Special Walnut (No. 224) . You can't go wrong with Walnut. I simply applied the stain with a brush and I did one coat. I wanted to make sure that the wood grain showed since I was going for an outdoorsy look.
Once dried, I taped with tape a border of where I wanted to paint chalk. (Not shown) I didn't paint over the tape because I was worried it may bleed through the tape - so I used it as a guideline for where I would stop painting. Both sides are painted.....
That's it! Again, ridiculously easy so I don't even think I needed to post instructions but it turned out so well that anyone can do it. :)


0 comments:
Post a Comment